Mapping Cameras with Go Map!! on the iPhone
Go Map!! is an iPhone app to navigate in and edit Open Street Map. While we will use it to add Surveillance cameras, you can use it to add many more objects to the shared map.
Setup
First, download it from its page on the iPhone App Store.
Next, you will need to create a user in Open Street Map. You can do so via the Open Street Map UI or, from the app by Registering a New Account:
- From a laptop browser: Click on the Sign Up button in the top right corner to display the Sign Up page. Follow the instructions to create a new account.
- From a mobile browser: Click the three lines in the top right corner and then click on the Sign Up button that appears to display the Sign Up page. Follow the instructions to create a new account.
Once you have created your account, login to it from Go Map!!.
Let's Map!
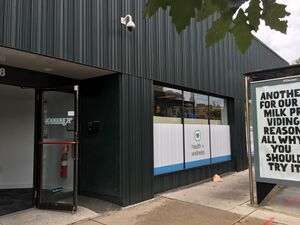
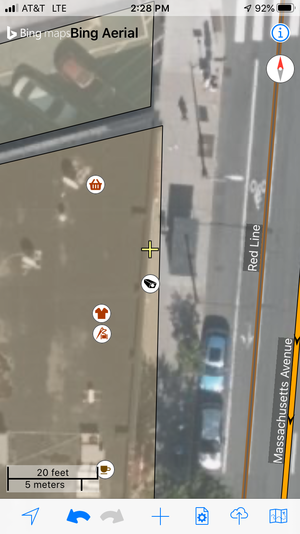
In this example, I mapped this surveillance camera on Massachusetts Ave. in Cambridge next to Keezers. It is near a tree and a bus stop.
Get to where you are
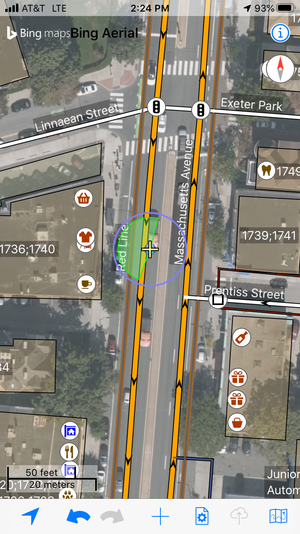
By default, Go Map!! displays where it last was when it was open. Click on the arrow in the bottom left corner to move the map to where you are:
It will display a green cone where it thinks you are looking based on your phone's accelerometer. To get rid of that and just display the yellow pointer, tap the screen:
Move about the map
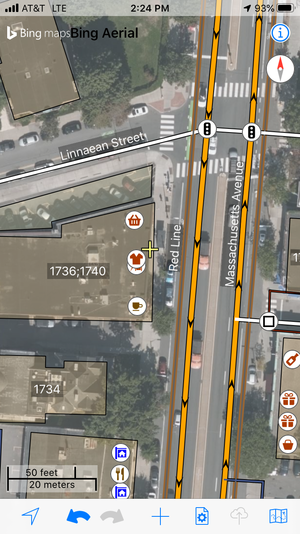
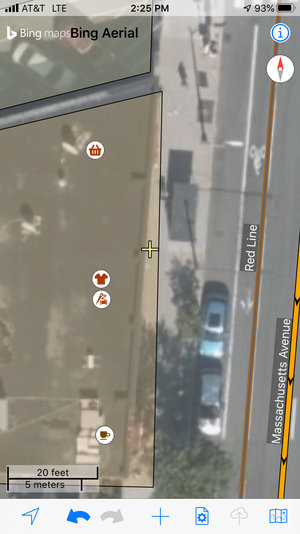
To move your pointer, you can use one finger to drag the map and the yellow pointer where you want it to be. You can also use pinch to zoom gestures to zoom in and out:
Add a camera
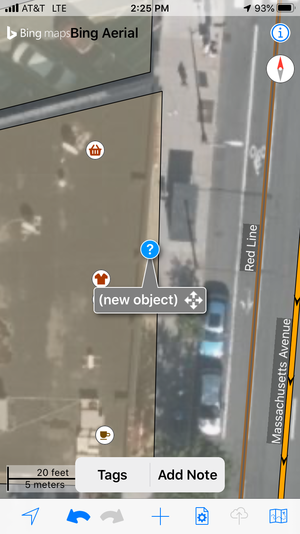
Once you have placed the yellow pointer where the camera is on the map, press the plus (+) button at the bottom middle of the screen to add an object. Once you created the object, click on the Tags menu at the bottom to define this object as a surveillance camera:
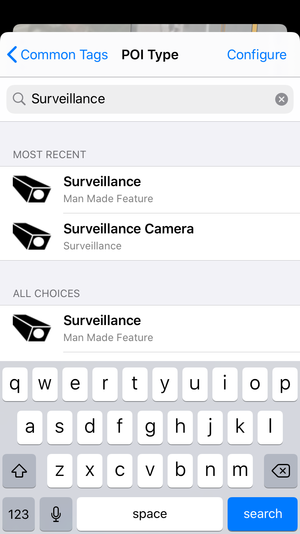
Clicking on the Tags menu displays the POI Type screen so you can select the type of the object you are adding. For convenience, it lists the most recent types you have used, but to find the type you need, enter Surveillance to find the Surveillance type. Do not choose the Surveillance Camera type as it will not currently show up at cctv.masspirates.org:
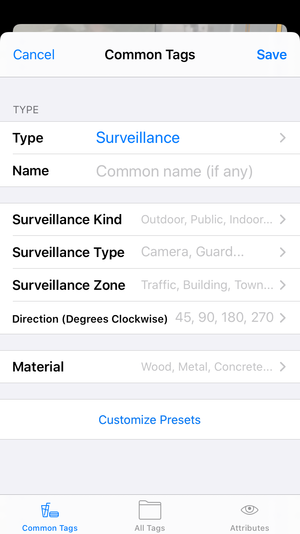
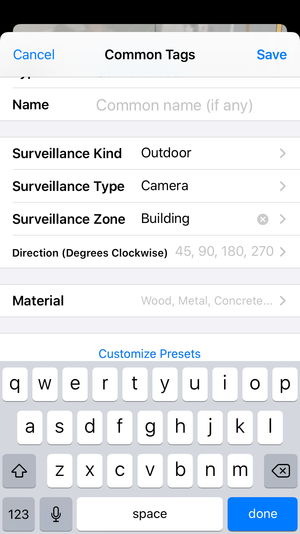
Once you selected the type, the screen will list other tags you can add:
You do not have to fill in any of them, but if you want to here is how.
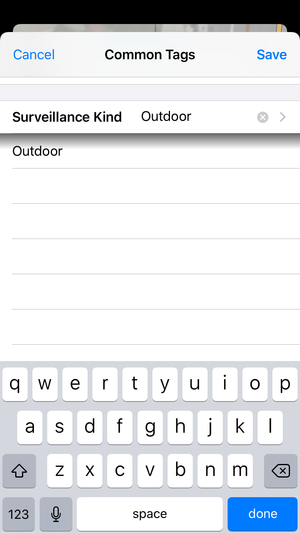
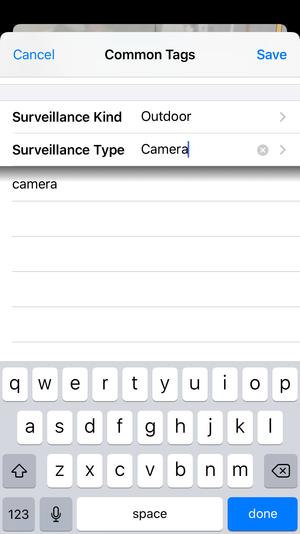
Click on the Surveillance Kind field and enter Outdoor since it is an outdoor camera:
Next click on the Camera Type field and enter Dome since it is dome camera:
Those changes leave the object's tags in this state. Once you have made all of your edits, click the Save button in the top right corner to save the object:
You added a camera!
When you tap the screen you can see the icon for your Surveillance object:
Moving cameras
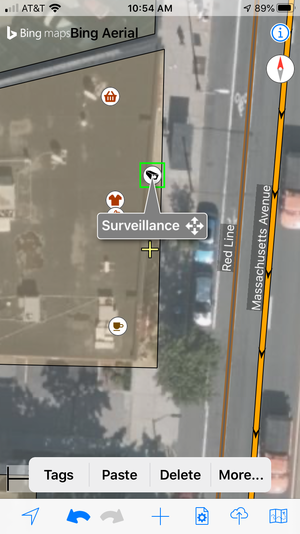
If you find you need to reposition a camera, then tap on the camera icon to select it, then touch the four arrow icon that appears and drag it where it should be.
Deleting a camera
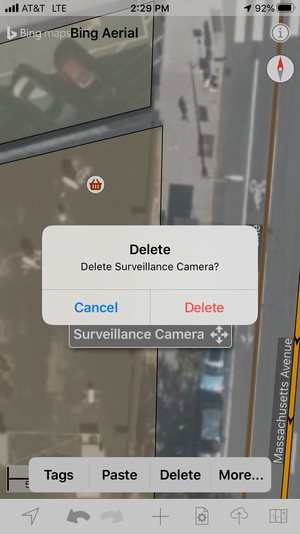
To delete a camera, tap the Surveillance object and tap Delete in the menu that appears.
It will confirm whether you really want to delete it:
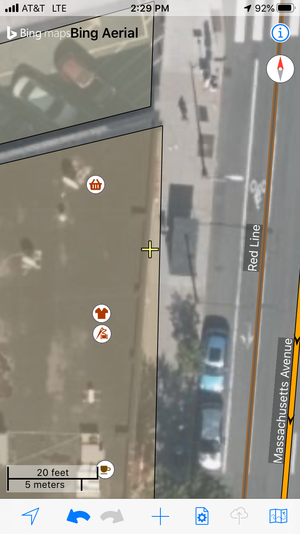
Once you delete it, it is removed from the map:
Upload your edits
When you are done adding the cameras you found, you need to upload them from the app to Open Street Map. Click on the upload icon which is the second one in from the right bottom corner:
You will get an Upload page. Enter a comment in the Changeset comment: field, then click on the Commit link in the top right corner.
