Mapping Cameras with OpenStreetMap's Web UI
This is a quick tutorial on how to map surveillance cameras with Open Street Map's web interface.
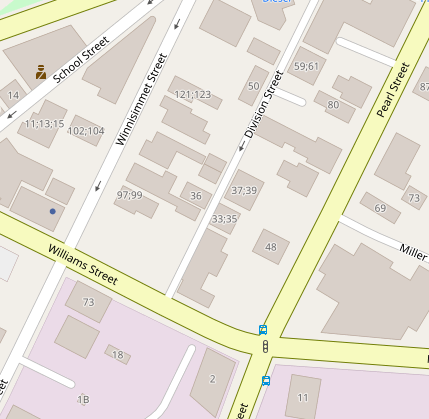
First, you'll need to find some surveillance cameras. I usually sketch them out in a small notebook. This is a sketch of two dome cameras on a telephone pole, at the corner of Division St. and Williams St. in Chelsea MA. Crude sketches are fine, as long as you can understand them later.
Back at your computer, log into OpenStreetMap and find the location where the camera reside. Here it is for this example.
Next, click Edit (in the upper left corner of OpenStreetMap's web interface.
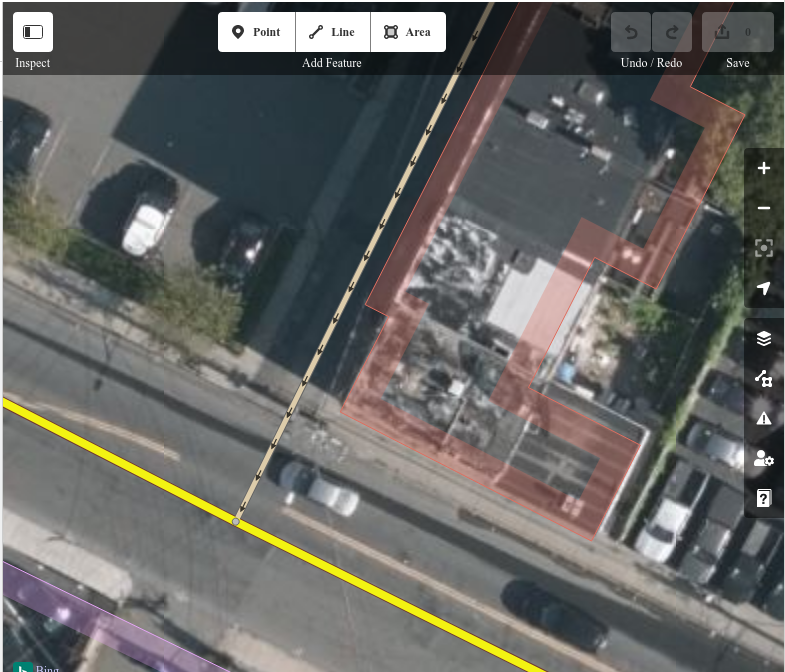
You'll see the editing UI, which looks like this:
Above, you'll see an "Add Feature" toolbar, with a "Point" button. We'll add a point to represent the camera. Click the "Point" button, then click the map area where the camera is located.
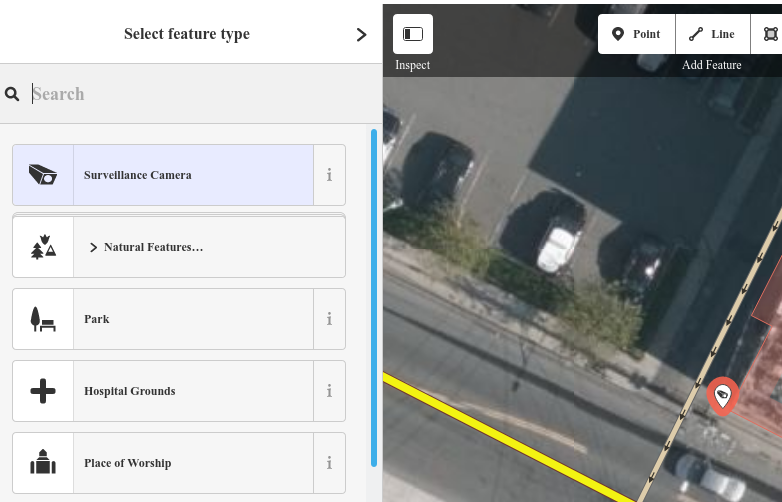
Once the point is on the map, search for a "feature type" of "Surveillance Camera".
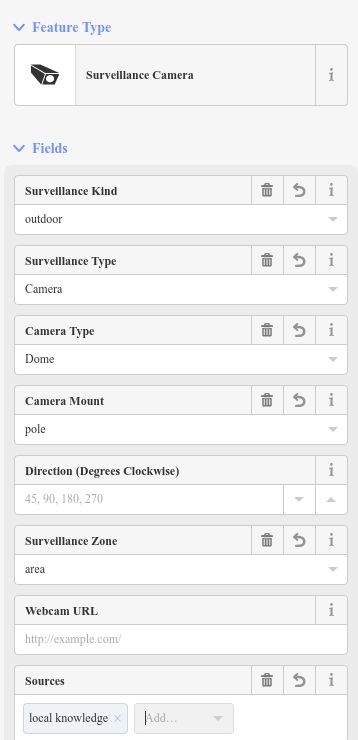
Provide information about the camera. Here's a screenshot of the metadata I provided. When editing OSM, it's good etiquitte to provide information in the "Sources" field. I used "local knowledge" because it's something I'd seen in person. If you know the camera's orientation, consider filling in the "Direction" field (I left it blank because I couldn't tell")
When you're done editing, click "Save" (which is in the upper right). OpenStreetMap will ask you for a change comment (I said "Added surveillance camera at the corner of Williams and Division"), then click "Upload".


